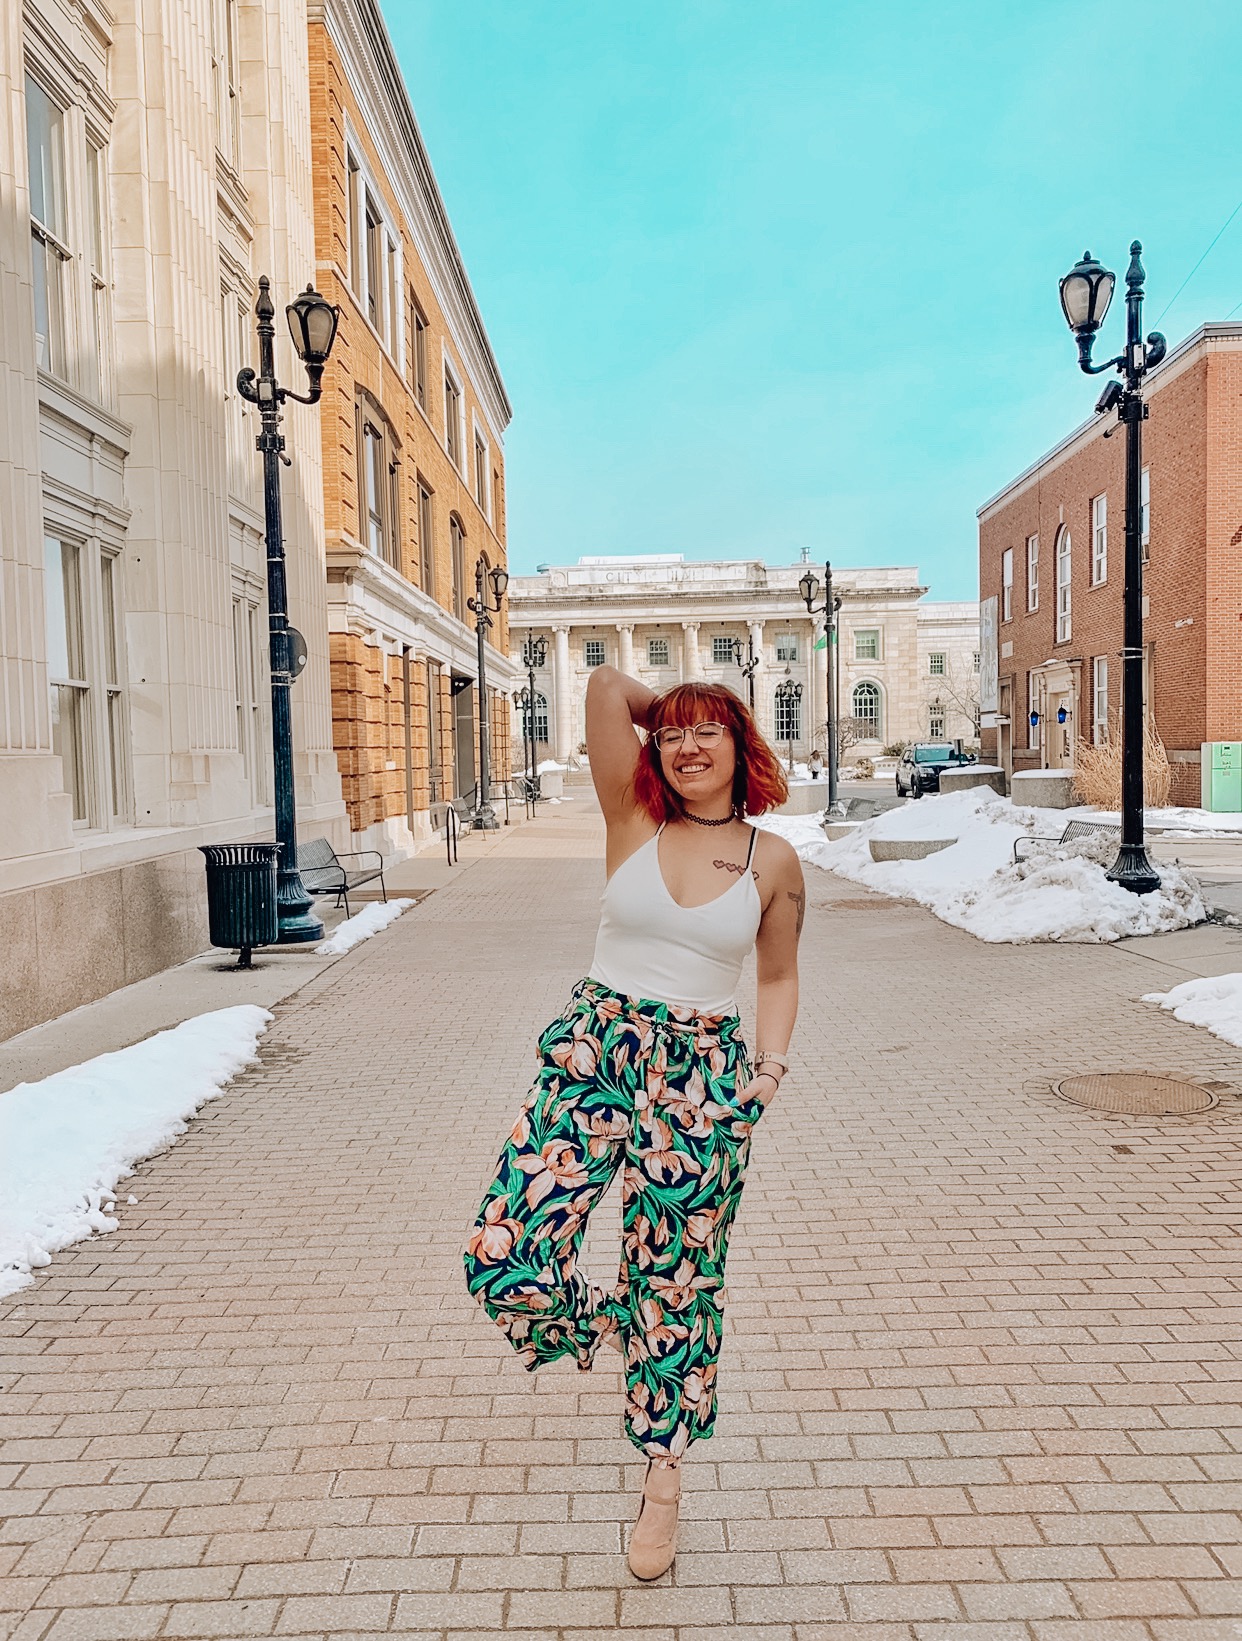
I get asked a lot about how I edit my photos for Instagram, and how to use my presets so I thought I would create a blog post showing how exactly I would edit one of my photos. Obviously you know by now that I sell my Lightroom presets on my Etsy shop (linked to my blog!), however what you may not know is that I use these as a base for my photos. What I mean is that when I apply the preset there is still a lot of editing and color changes that go into play to match my aesthetic! I hope this helps!
How I Edit my Photos for Instagram
Retouch

After I get a shot that I want to use, the first thing I do is go on my Retouch app. Honestly this app is AMAZING! It works so well at removing things in the background that you don’t want in the shot. It’s really great for people who are complete and total noobs at photoshop! It’s honestly amazing. Here you’ll see the before and after of the edit of the photos when I removed a few tiny details I didn’t want in the shot.
Snapseed

Once we got that all taken care of, we move on to the next app, Snapseed! If you don’t already own Snapseed, what are you even doing with your life? This app is PERFECT at brightening your photos. If I didn’t have a specific color palette, I would probably leave the photos the way they look when I’m done editing them on here, but I like to play around more with lighting and color.
On this app I use the Tools > Tune Image tab. I very rarely use any other tab, but the other two I use are Details and Selective. Details will sharpen the image and Selective works really well at choosing specific spots in the image you may want to brighten. Sometimes I will also use Rotate do straighten the photo if my body isn’t centered.
When editing the photo with Tune Image, I focus on Brightness, Ambiance, and Warmth the most. Always bring up the ambiance in the shot before the Brightness and I also like to reduce the warmth if there’s too much.
*Side App- Photoshop Fix*
If Snapseed can’t brighten the photo the way I want, I switch to Adobe Photoshop Fix. Here I will use the icon Light and highlight areas of the photo I want to brighten. I’ll do this a few times until I get the desired results. After this, I move back to Snapseed.
Lightroom CC

Here’s where we get into my presets and a few tweaks. Most of the time when I edit my photos, my presets are set perfectly for the aesthetic I’m going for but sometimes I have to brighten and remove a specific color if it’s screaming too loud. Lightroom can honestly be a little tricky to figure out, so even when I started I bought a bunch of presets in an Etsy shop. They work so amazingly at giving you a base of where to start on working with the photo. With this photo, my preset Pink Creme Light (available for purchase) barely needed to be tweaked to get the perfect shot! It’s one of my favorites and I use it for everything

The point of the preset is to almost be a tap and done and for the most part it is! All of my presets work really well for certain images and need tweaks for others. I highly recommend buying at least the Pink Creme Light and trying it out on your photos! Be sure to follow the steps above before you edit photos using the preset. They work better on brightened photos!
You can click here to purchase my presets and edit your photos for Instagram as well!
If you have any questions on how I edit my photos for Instagram, or need assistance with any of these presets, you can reach out to me on Instagram or email: stephy@thetinyherbivore.com ! If you do end up using them on IG, be sure to use the hashtag #TTHPresets so I can find them and share on my stories! Would you’d like to see more of my photos going through the editing process? Let me know! I can probably make a video on it for my IGTV! I hope you learned a little bit on how I edit my photos for Instagram!
Stephy Recommends


